Installing Lexmark Windows 9x print drivers
The installation proceeds in four parts:
- Get the software.
- Install the Lexmark
TCP/IP Network driver. This needs to be done before
installing the printer driver.
You will not need to do this, if you are adding a second lexmark
printer.
- Install the
postscript printer driver by re-running NETWN32E.EXE.
Repeat this step to add more than one Lexmark
printer.
- Configure the
printer setting from the printer Control Panel
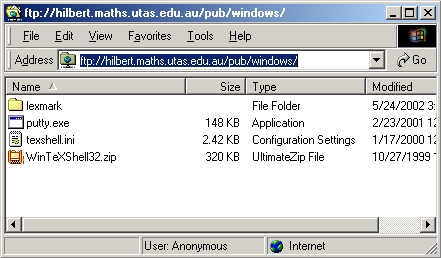
Step 1. Get the driver software
Open up a windows explorer window and type ftp://ftp.maths.utas.edu.au/pub/windows
in the address bar, E.g.:
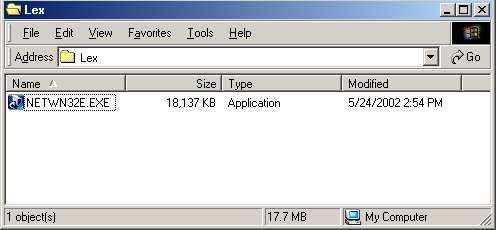
Drag the lexmark folder back to your desktop. Open the folder and
run the
installer by double clicking on it, E.g.:
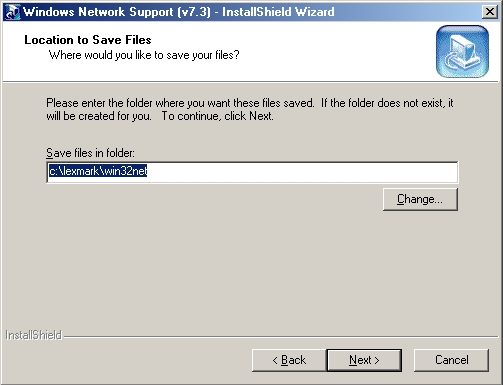
Step 2. Install the TCP/IP network Drivers
2.1
Accept the default save location for the driver files and click Next.
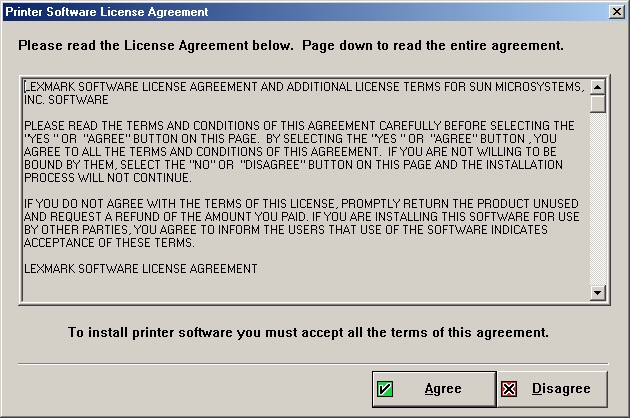
2.2
Accept the License Agreement
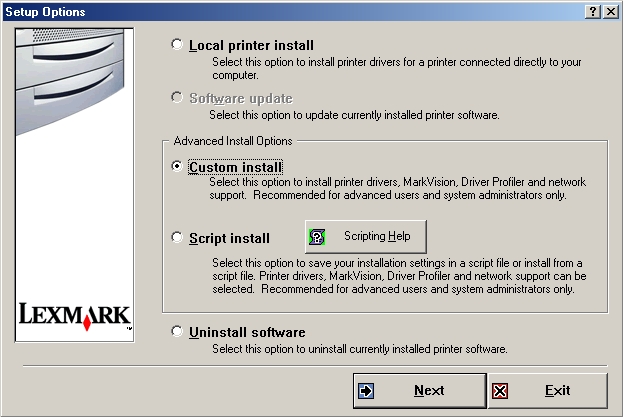
2.3
Choose Custom install and click Next
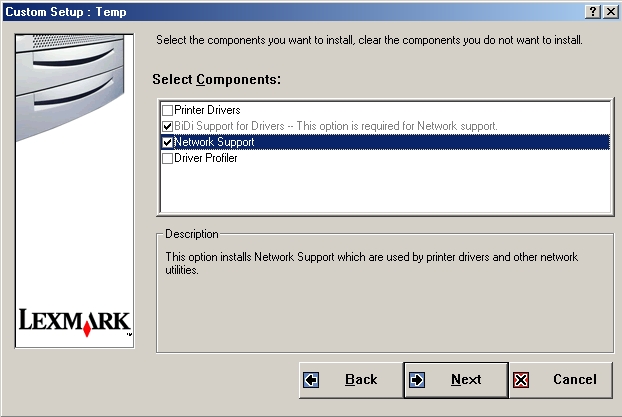
2.4
At this point tick Network Support and then click Next to
continue.
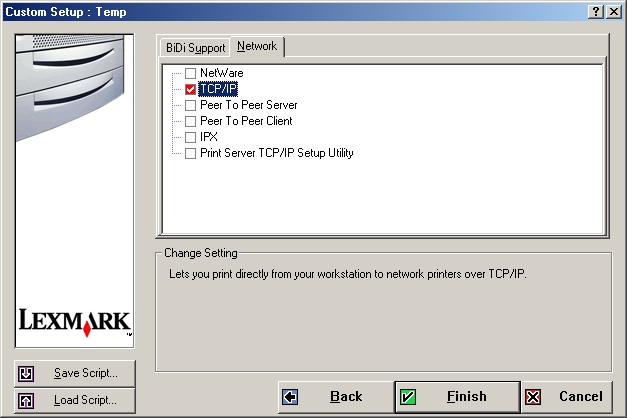
2.5
Choose the Network Tab

2.6
Tick TCP/IP network and the click Finish
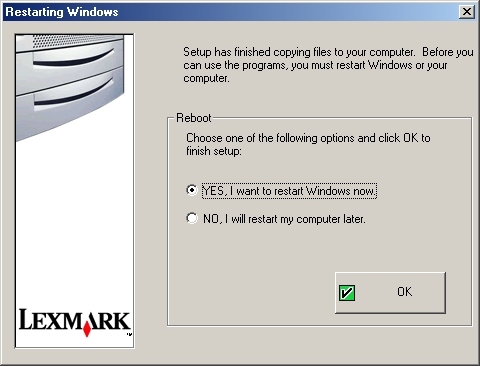
2.7
Choose NO for the reboot option
and then click OK
Step 3.
Install the Lexmark postscript drivers
3.1
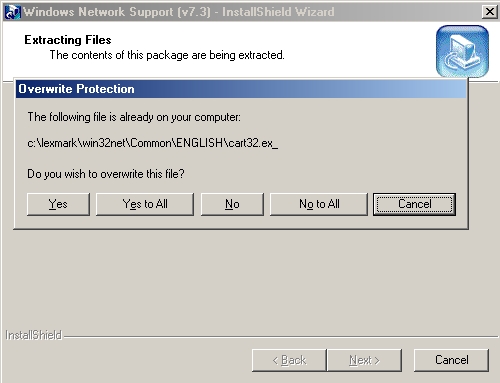
To start this process repeat steps 2.1 to 2.4 again. Answer "No
to All" to the following question.
3.2
This time tick the "Printer Drivers" box.

3.3
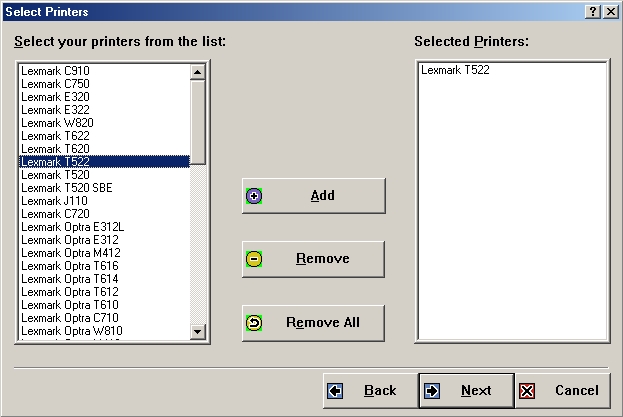
Click on the "Lexmark T522" printer, add it to the selected printers
list and click Next or choose
the "Lexmark C720" to install the colour
printer driver
3.4
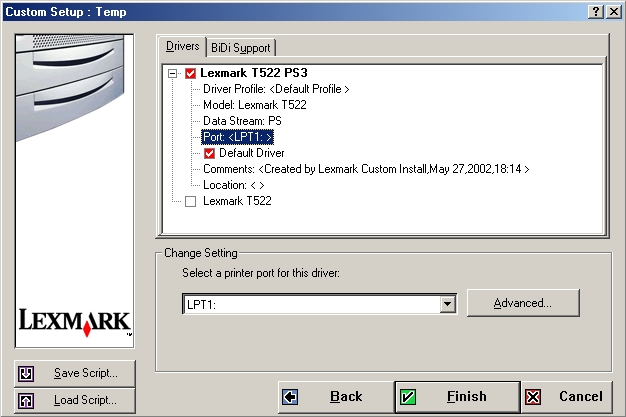
Un-tick the "Lexmark T522" box at the bottom of the Drivers
window. We don't want the PCL drivers.
Select the "Port:" option for the "Lexmark T522 PS3" driver and
then click the "Advanced..." button.
3.5
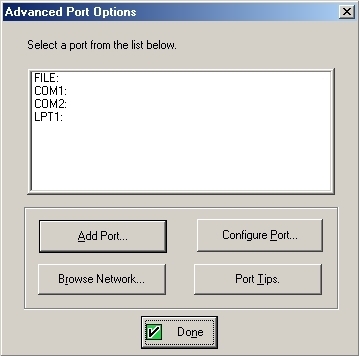
Click the "Add Port..." button to add a Lexmark TCP/IP
port. The drivers for this port were added in step 2.
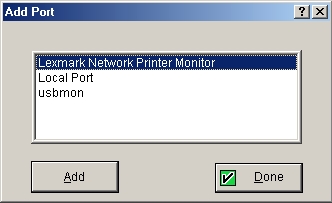
3.6
Choose "Lexmark Network Printer Monitor" and click add.
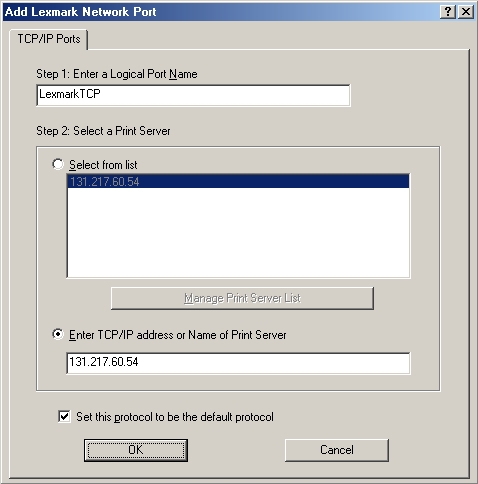
3.7
Enter a name for the port, LexmarkTCP , LexmarkLevel3,
LexmarkOffice,
Lex-C720, would be meaningful.
Select the "Enter TCP/IP address..." and use
131.217.60.54 (mailroom printer), 131.217.60.55
(level3 printer),
131.217.62.250 (scanner room), 131.217.60.57
(Colour
Lexmark C720) as the
printers address. Click the default protocol box if you
want the lexmark as your
default printer then click OK.
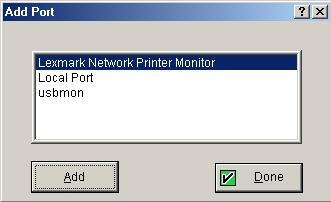
3.8
Click DONE here.
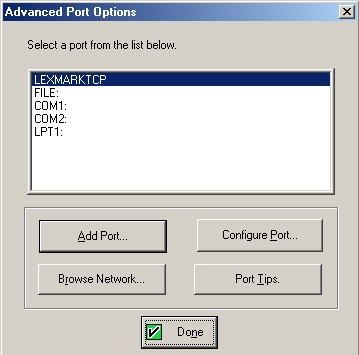
3.9
Choose LEXMARKTCP (or what ever you named it in step 3.7) as
the printer port, and then click DONE.
3.10
You can set the printers location to "Mail room" if you like.
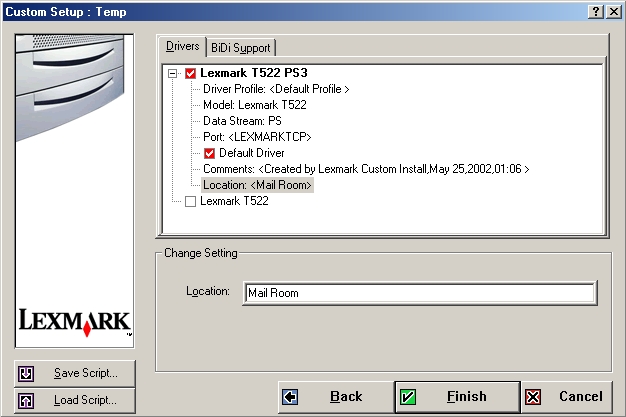
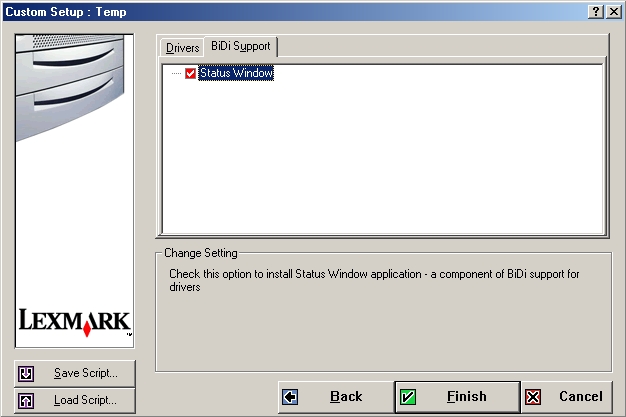
3.11
You will also need to select the BiDi Support Tab and tick the
Status Window box.
Now you should click Finish and proceed to step 4.
You can repeat step
3 to add multiple Lexmark printers.
Step 4.
Configure the printer options
4.1
If you have
Installed new Lexmark TCP/IP drivers (Step 2) then
you will need to:
RE-BOOT your computer
If you fail to reboot then the computer may freeze when you try to
configure the printer. You
should not have to reboot if you already had a network lexmark
printer installed and have just
added another printer.
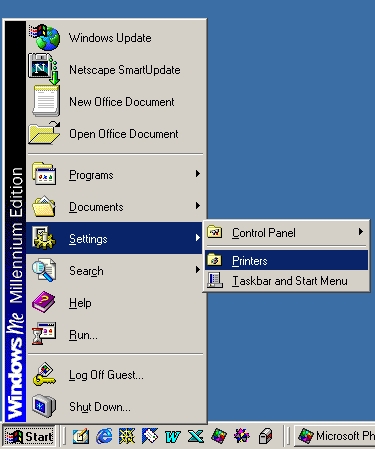
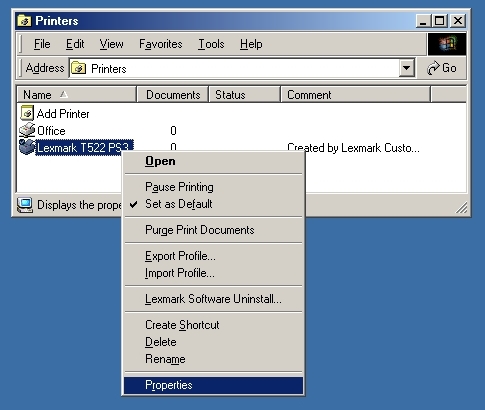
4.2
Open the "Printers" folder from settings on the start menu,
right click on the "Lexmark T522 PS3" and choose properties.
4.3
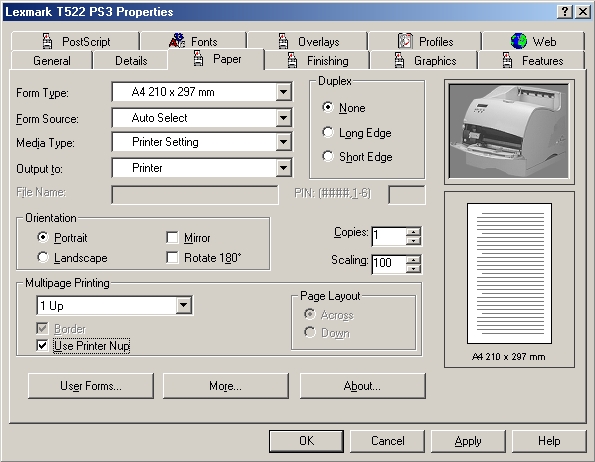
You really only need to set a few of the options here. Go to the
Paper Tab and choose the default paper type (A4), then tick
the "Use Printer Nup" box at the bottom left. If you don't tick
this box some PDF files won't print N-up. Note that this is where
you should go when you choose "Page Setup" form an application and want
to set the duplex option for printing on both sides of the paper.
4.4
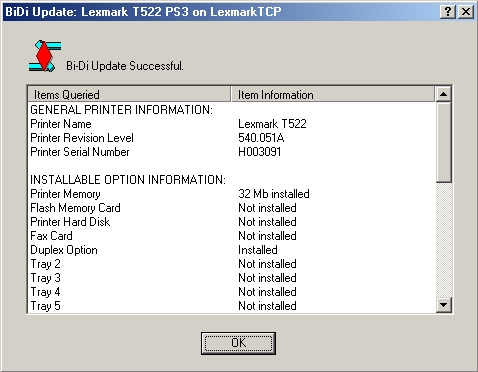
Now click on the "Features Tab". The quickest way to set up all
of the printer options is to click the "Update Now" button and have the
software ask the printer what options it has.

4.3
Once you get the "BiDi Update Successful" message you can click ok.
That's it! Happy
printing.